

A Comprehensive Guide on Supplying Print Ready Artwork
In the world of printing, delivering print-ready artwork is crucial to achieving the desired results. Whether you're creating business cards, brochures, posters, or any other printed materials, providing high-quality print-ready files is essential for a smooth and successful printing process. In this guide, we'll walk you through the key steps and considerations to ensure your artwork looks impeccable on paper.
1. Understand Print Specifications:
Before you start creating your artwork, it's crucial to understand the specifications required by your chosen printing company. Each printer may have specific guidelines for file format, colour mode, resolution, bleed, and trim. Familiarise yourself with these requirements to avoid potential issues during the printing process. Brightside Print and Design’s requirements are detailed below.
2. Choose the Right File Format:
PDF is required by Brightside Print and Design as it maintains the integrity of your design and is compatible with various software applications. It also reduces the risk of the artwork elements moving around or being changed by other applications when Brightside prints your artwork.
3. Set the Correct Colour Mode:
Printers use the CMYK colour mode, representing cyan, magenta, yellow, and black. Unlike RGB, which is used for digital displays, CMYK is optimized for the four-color printing process. Make sure your artwork is set to CMYK to accurately represent the colours in the final printed product.
4. Check Image Resolution:
Resolution is critical for producing sharp and clear prints. Aim for a minimum resolution of 300 dots per inch (DPI) for images and graphics. Low-resolution images can result in pixelation and a loss of quality when printed.
5. Check Artwork Size:
Checking your artwork is set to the correct size is important as it prevents any confusion about the finished print size. The artwork should be set to the size of the desired output. For example, if you require the print to be A5, the artwork should be set to 210 x 148mm (excluding the bleed and crop marks).
6. Add Bleed and Crop Marks:
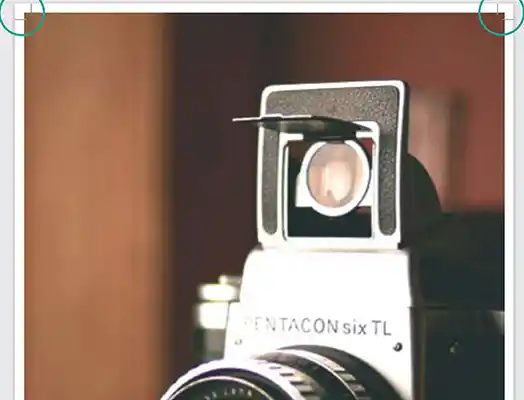
Bleed is the area extending beyond the final trim size to account for any slight variations during the cutting process. Typically, a bleed of 3mm is sufficient. Additionally, include crop marks to guide the printer on where to trim the final product. This ensures that your design extends seamlessly to the edge of the printed material.
7. Embed Fonts or Convert to Outlines:
To avoid font-related issues, either embed the fonts used in your design or convert them to outlines. This step ensures that your chosen fonts are preserved when the printer opens the file, preventing any discrepancies in the final output.
8. Proofread Your Artwork:
Before sending your file to the printer, thoroughly proofread your artwork to catch any typos, errors, or design issues. Once the printing process begins, it's challenging to make corrections, so taking the time to review your work is essential.
Conclusion:
Supplying print-ready artwork is a collaborative effort between designers and printers, ensuring that the final product meets or exceeds expectations. By following these guidelines and communicating effectively with your printing company, you'll enhance the chances of producing visually stunning and professionally printed materials that leave a lasting impression.
If you have any further questions, please contact our team and they'll be happy to assist you.